
Dockerizing an Apache Web Server

Apache web server (commonly called Apache) is one of the most popular and widely used web servers. It serves as the software that delivers web content such as HTML pages, images, videos, or applications to web browsers over the HTTP or HTTPS protocols.
When users access a website by typing a URL, Apache processes the request, serves static content and can handle dynamic content through modules that integrate with languages such as PHP, Python, or Perl. It efficiently manages multiple simultaneous connections using Multi-Processing Modules (MPMs), supports load balancing and caching, provides TLS encryption (HTTPS) for secure communication, can forward requests to backend servers or applications (e.g Node.js), and maintains detailed access and errors logs for monitoring, analytics and security
Apache web server listens on port 80 for HTTP and port 443 for HTTPS
Dockerizing an Apache server means running the Apache web server inside a Docker container rather than directly on the host operating system. The Dockerized Apache server isolates Apache and its dependencies from the host machine, providing enhanced security, easier deployment, greater consistency across environments, improved scalability, better maintainability, and efficient resource usage
Container networking allows an Apache web server running inside a Docker container to communicate with web browsers on the host machine or on other devices on the network
Tools used:
VS Code
Docker Desktop
The Deployment Process
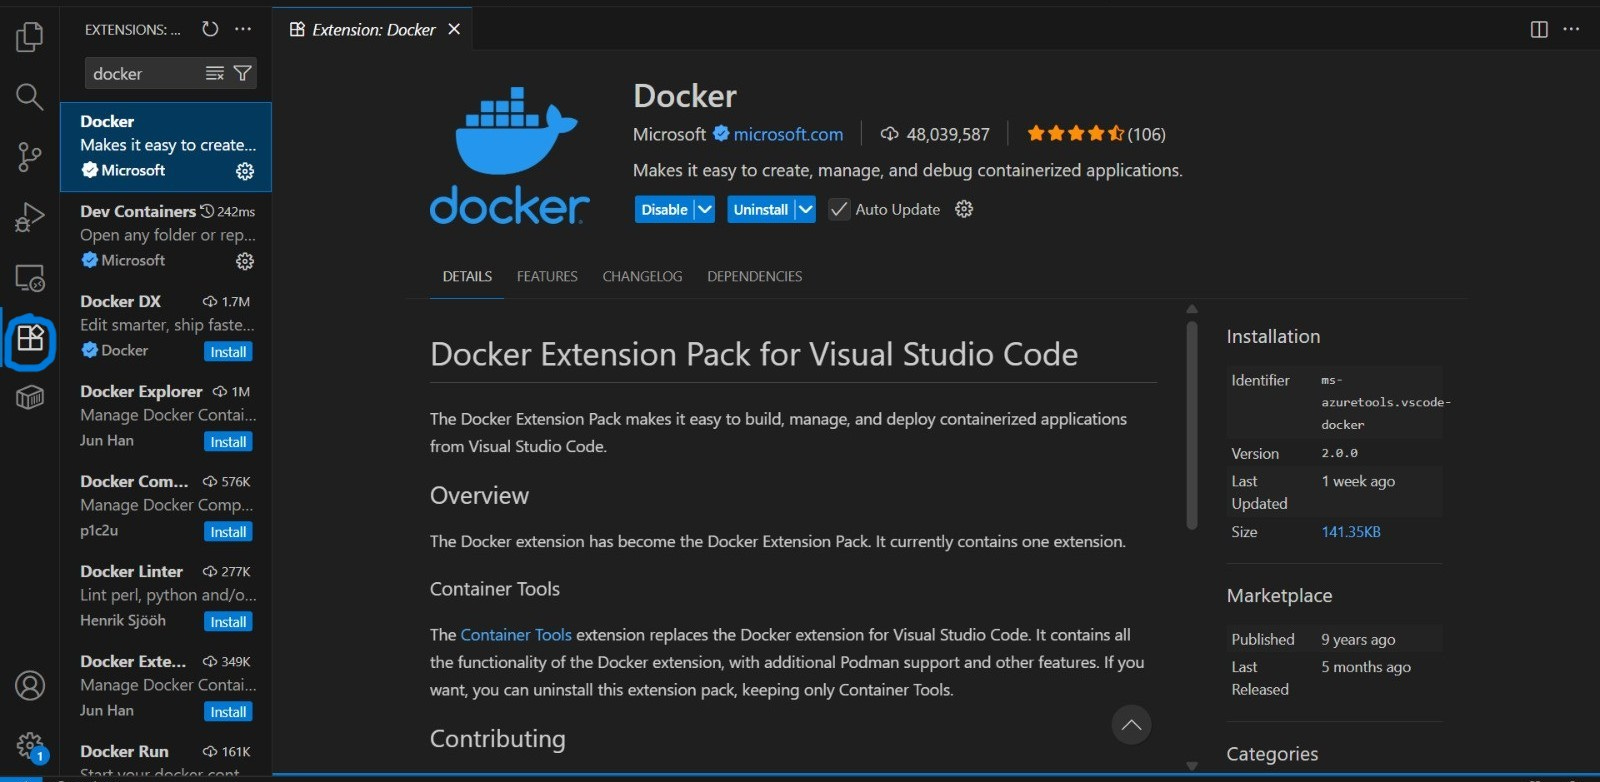
Install Docker Extension on VS Code:
In VS Code, navigate to the Extensions icon —> type ‘docker’ in the search bar —> click install and follow the prompts
Create a project folder and Dockerfile
create a folder for the project and give it a name. Inside the project folder, create a Dockerfile:
FROM ubuntu:latestRUN apt-get update && apt-get install -y apache2EXPOSE 80CMD ["apache2ctl", "-D", "FOREGROUND"]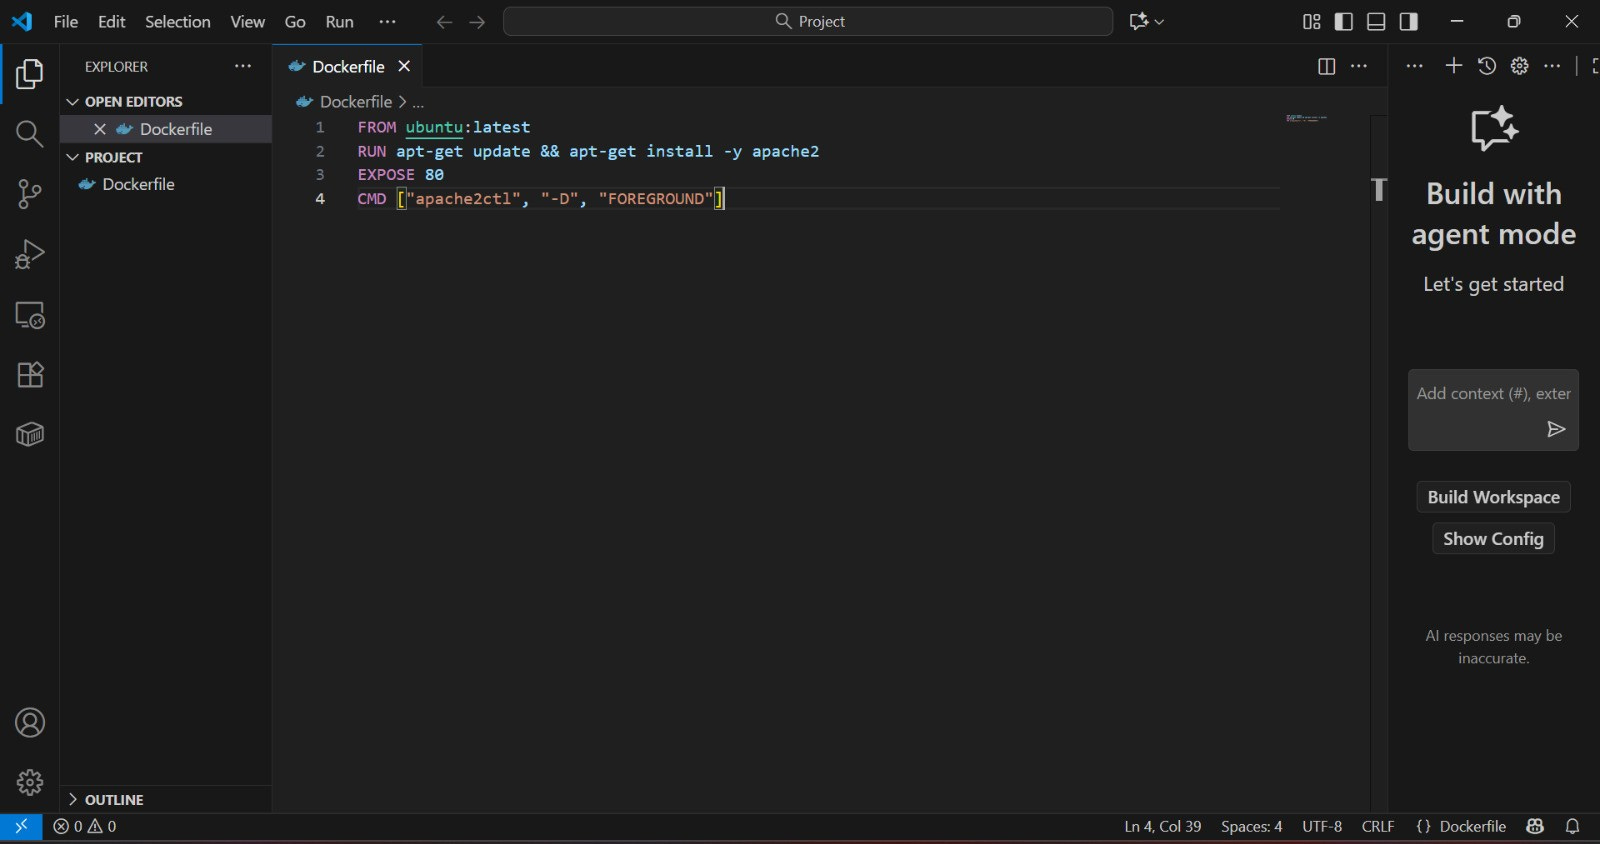
Open a new terminal in VS Code
In the terminal, navigate to the project folder and build the Docker image from the Dockerfile using the following command:
docker build -t my-apache-image .


Run the Docker Container
Run the container and map port 80 to the host machine:
docker run -p 80:80 my-apache-image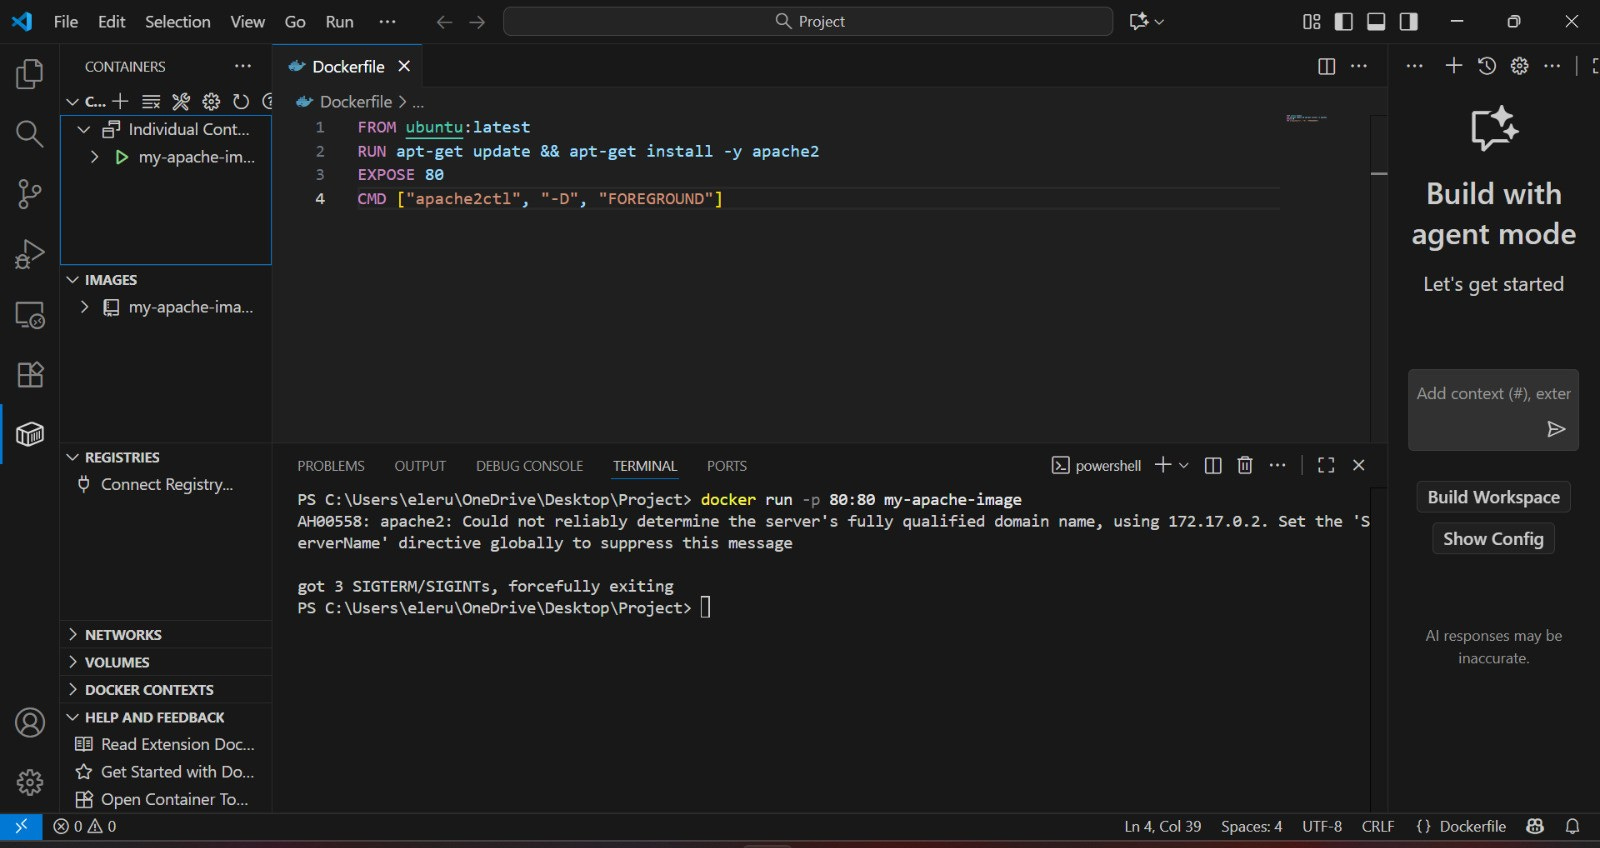
Verify the running container
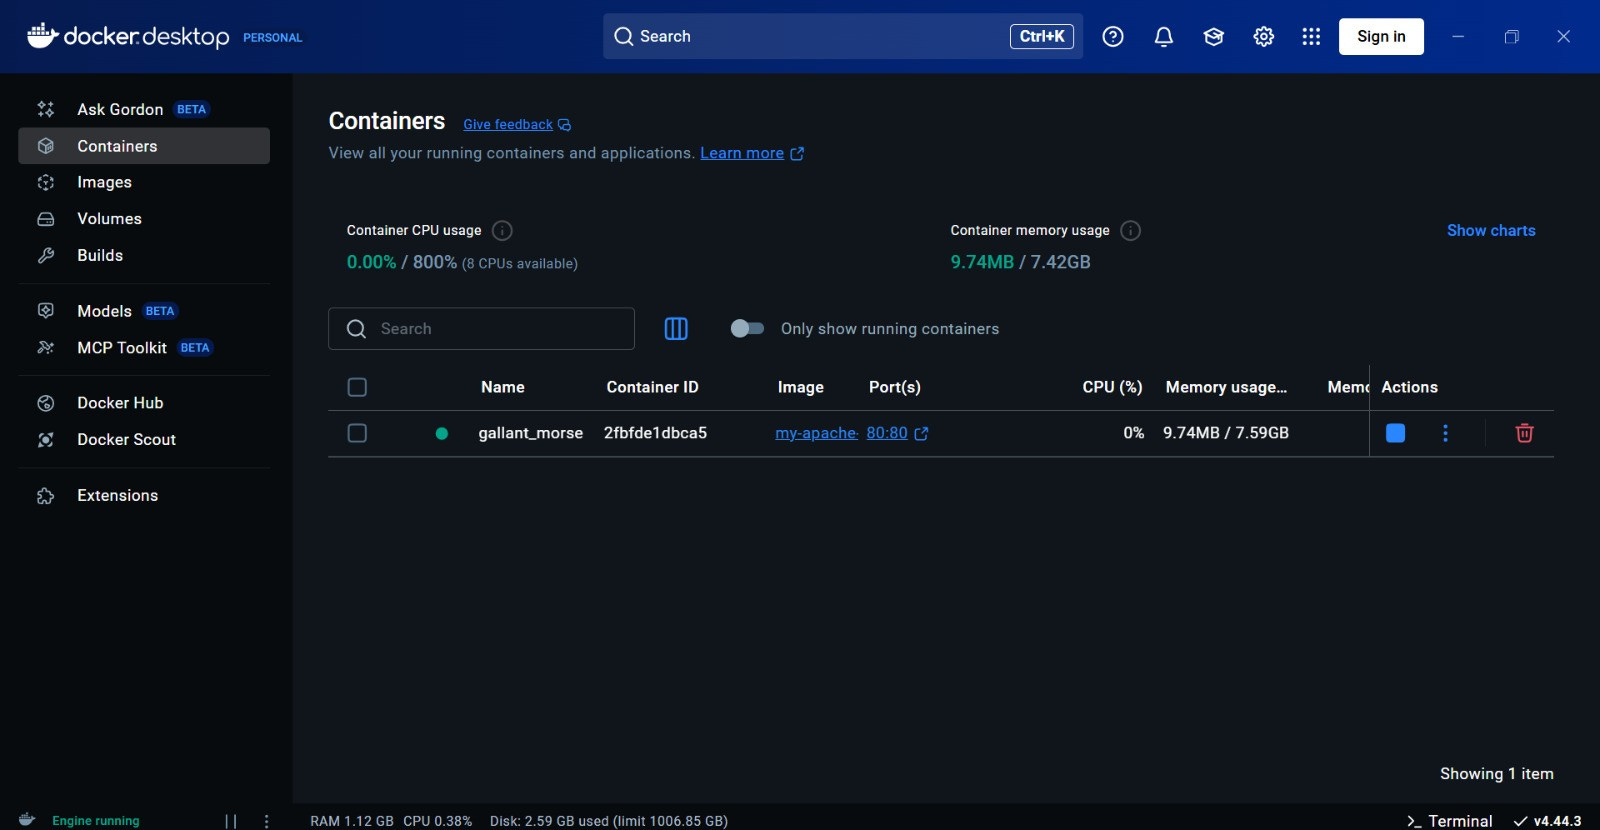
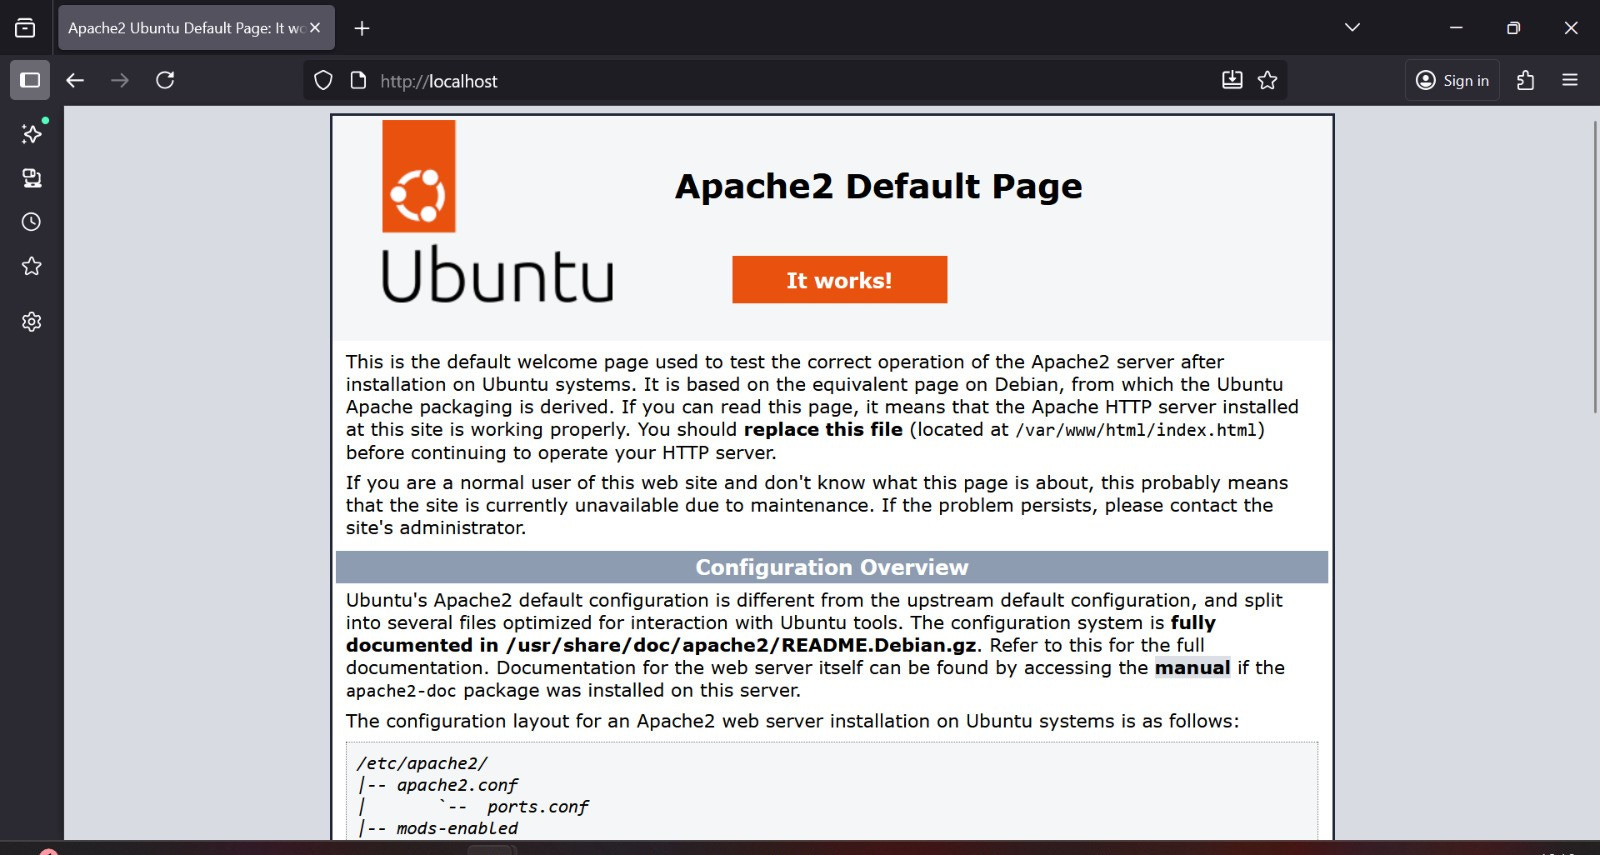
Visit the local address on host machine (http://localhost:8080). This should display the Apache default page, confirming that the Apache web server has been successfully Dockerized and is running
Skills gained by completing this project:
Understanding the role of Dockerfile in containerization
Writing Dockerfiles to define container images
Configuring Apache web server in a container
Using VS Code terminal for container management
Building Docker images from a Dockerfile
Versioning and tagging container images for deployment
Running containers and mapping ports to host
Deploying services in isolated environments
Key benefits of this Project:
Isolation: A Docker container provides an isolated environment for running an Apache web server, ensuring that it is not affected by any changes to the host system or by other applications running on the same machine
Consistency: By packaging the Apache web server and its dependencies into Docker container, developers can ensure that the application runs consistently across the different environments such as the development, staging and production
Reproducibility: Docker images are portable and can be easily shared with others, making it easy for developers to reproduce each other’s work
Security: Docker containers are more secure than traditional servers because they provide an isolated environment for running the Apache web server, making it harder for attackers to compromise the host machine or other applications running on it